Supplies needed:
*Hot glue gun
*Fabric
*Cardstock
*a puuurdy center(button, brad, pearls)
Instructions:
Cut a strip about 1 inch wide and 20 inches long of fabric(it doesn't have to be perfectly cut as you can see) =) Cut a 2 and a half inch circle from cardstock(this will be what you adhere your fabric to). **I like to cut my circle from coordinating cardstock just in case your paper peeks thru your fabric.

Place a dollop of hot glue in the center and adhere one end of your strip.

Start working from the center out, slightly twist the fabric as you go around. Work fast as hot glue only gives you a few secs before it dries. **Only put down a bit of hot glue at a time or it will dry before you get a chance to put your fabric down.


Once you are done you will probably have alittle bit of extra fabric, just place a dot of glue to the back of the circle and fold the fabric back.

Lastly embellish your center, whether it be with a decorative button or pearls. Tada! You've got yourself a handmade flower, done in justa few minutes!

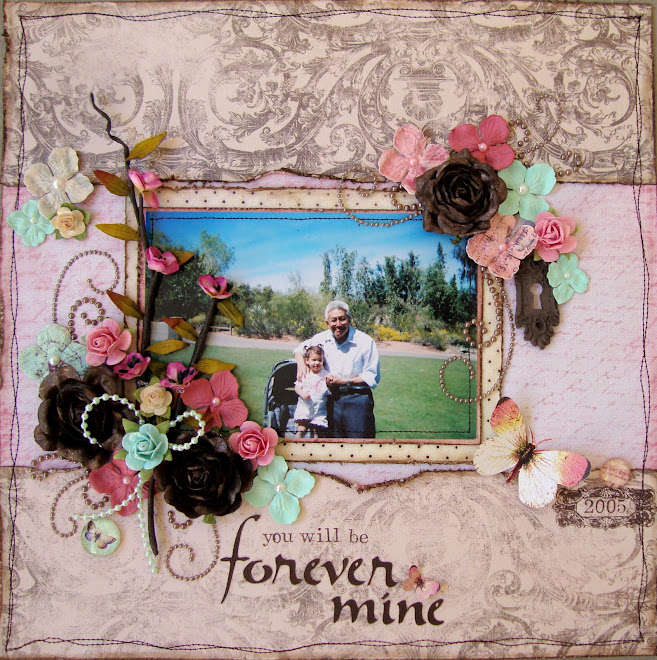
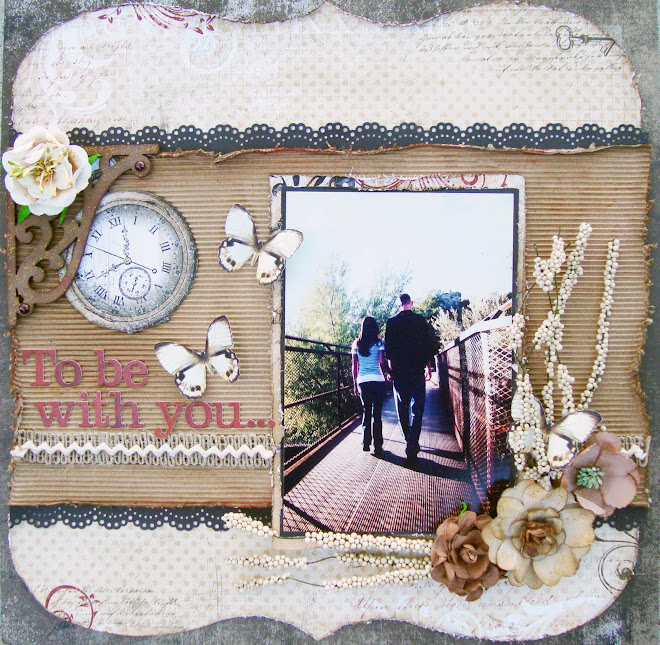
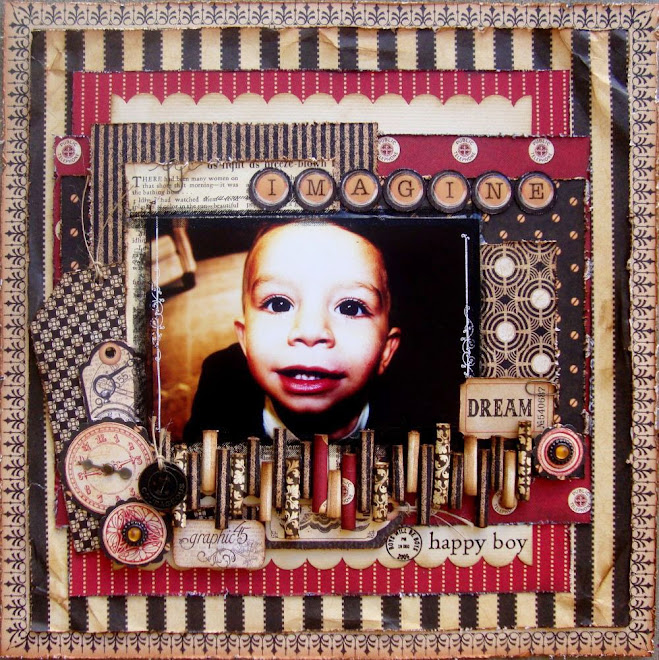
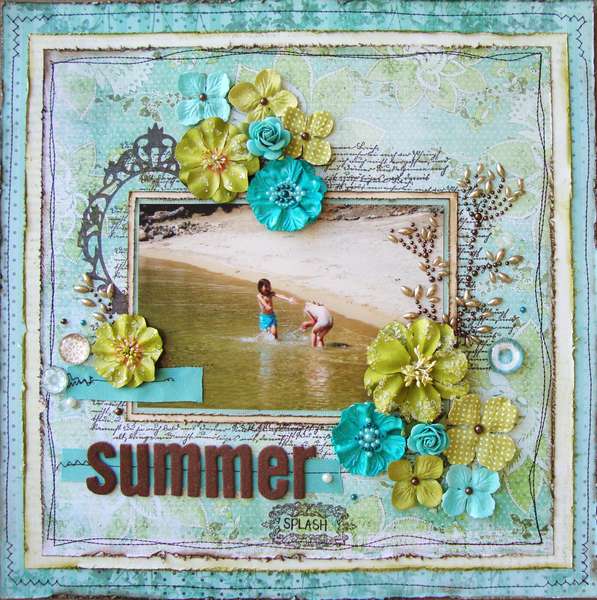
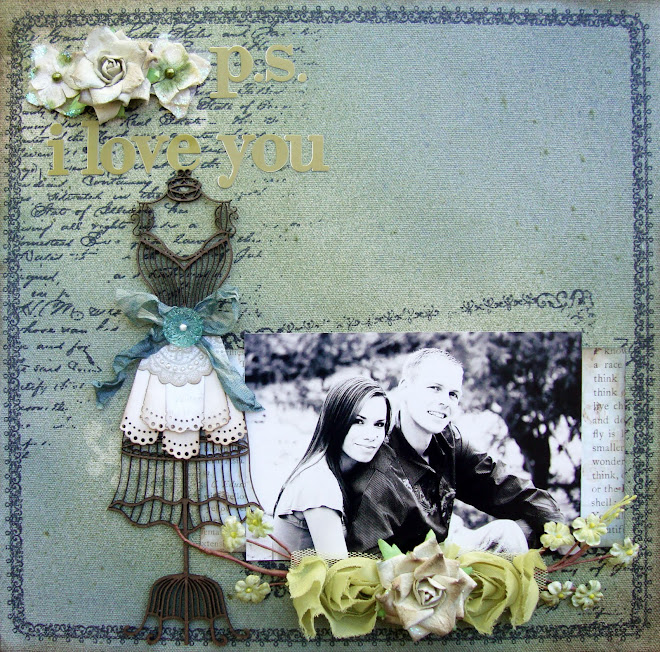
Here's a layout which I used this type of flower on.

Hope you enjoyed this tutorial!
~Karen