What you will need:
-scissors
-patterned paper(preferrably double sided)
-glue dots
-center such a brad, pearl, button, etc.
STEP 1...Cut 2 SAME SIZE squares. I chose mine to be 3x3. Cut each corner almost to the center. Be careful to not cut all the way to the center or else ur square will fall apart.


STEP 2 ...Place a glue dot in the center. Take one corner at a time and bring it to the center, as shown below. Do this to all 4 corners.

This is what it should look like once you have taken in all 4 corners.
Here are both pinwheels done.

Step 3...Take either(which will be the one that goes on top when u layer them) and add your center. For mine, I added a pearl brad. =)

STEP 4...Take both your pinwheels, the one with the center being the top one, and layer them. I adhered mine together with hot glue, any fast drying heavy duty glue will due. Here is your finished pinwheel! Ready to add to any of your projects.
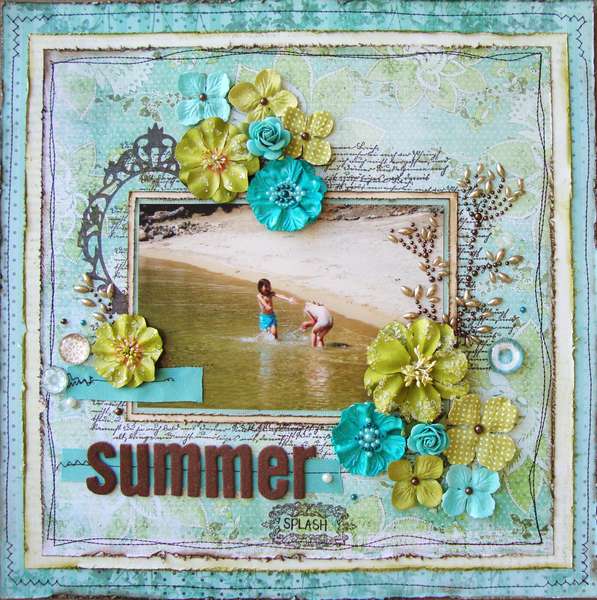
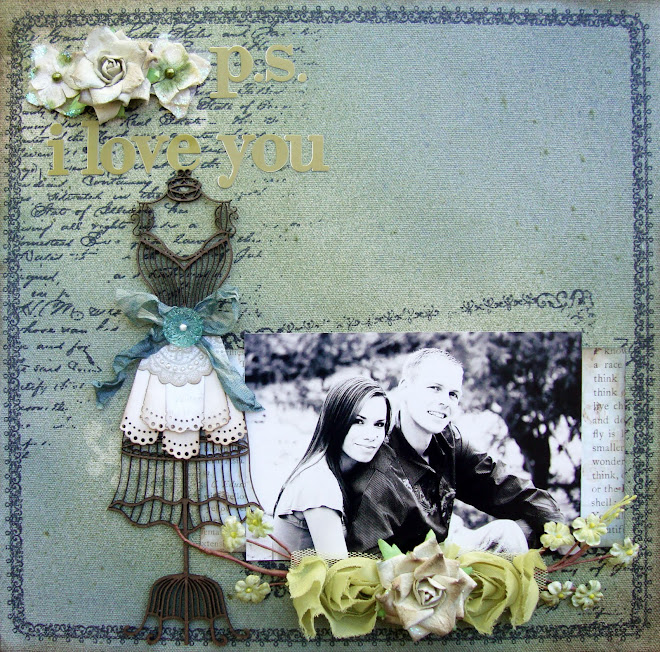
Here is a layout I made, using pinwheels. All papers are from My Minds Eye. These "Little Boy Blue" papers were perfect for this summer picture of my son, eating his first ever snow cone, he loved it to say the least.

The MME ticket stickers were perfect for short journaling. They are so cute!

I hope you have enjoyed this quick and easy tutorial, as well as the layout. Hope you all have a great night.