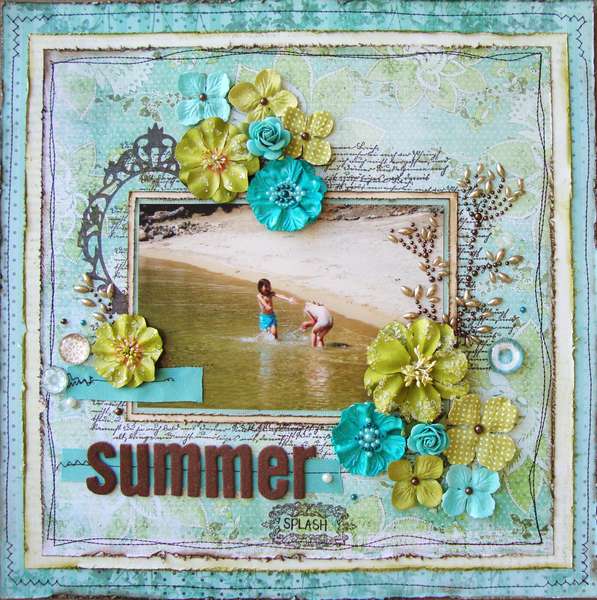
Here is a step-by-step on how to recreate the design of this card.
Step 1.
Step 2.
Choosing 3 coordinating patterned papers...cut one to 4Lx5W, the second to 3 1/4Lx4 1/4W, and lastly the last cut to 2x2. Adhere the largest piece to the face of your card, layering the 2nd largest in the center.
Step 3.
Cut a strip of cardstock measuring 2 1/4Lx5W. Using a corner punch as a border punch, punch both sides. I used the Fiskars Corner Lever Circles. Just be sure to remove the guards and be careful to match up your last punch precisely so your design looks neat.


Step 4.
Step 5.
Adhere flower to center of square. And stamp your sentiment on the bottom center. TADA! You're done!
Products Used: Papers(Bo Bunny Timepiece) #12th639, #12tco707, #12td615; Tools: Fiskars Punches: Xtra Lrg Squeeze "Seal of Approval" #01-03776, Medium 1 inch "Poppy" Lever #01-005470, Corner Lever "Circles" #01-005486; Other: pearls, ribbon & sentiment stamp.
**For my card, I used a handmade bloom.** There are many times that I see wonderful flower tutorials and think..well darnit I don't have those flower punches...so here is a tutorial to recreate a bloom everyone is familiar with but might not have the same punches.
Here is the tutorial.
You will need:
*scalloped circle punch
*any flower punch with at least 5-6 petals.
I used the Fiskars Xtra Lrg "Seal of Approval" and Fiskars Medium "Poppy" Punches.
Step 1.
Punch out 2 scalloped circles and 5 smaller flowers.
Step 2.
Step 3.
Cut the petals on both your scalloped circles, ink the center of them. Lightly mist with water and scrunch them up to achiever a more dimensional look. 

Resulting in with this look.
Step 4.
For the center of your bloom, take the 5 smaller flowers, cut in between each scallop almost to the center. Taking one flower, scrunch it up in the same manner, using very tacky glue, adhere it to another flower.
Then scrunch those 2 upwards, then glue those 2 to a 3rd flower and do the same until you're all done with all 5 flowers. This is what it will look like when you're done.


Step 5.
Adhere your small bloomt to the center of your large bloom. Now you have yourself a pretty little bloom without fancy flower punches. =)
Well I hope you enjoyed this tutorial as much as I enjoyed putting it together for you and I hope you find inspiration within it one way or another.
Now off to eat a grapefruit! YUM!
And to fold yet another load of laundry...story of a wife's life. ;)
♥ Karen


