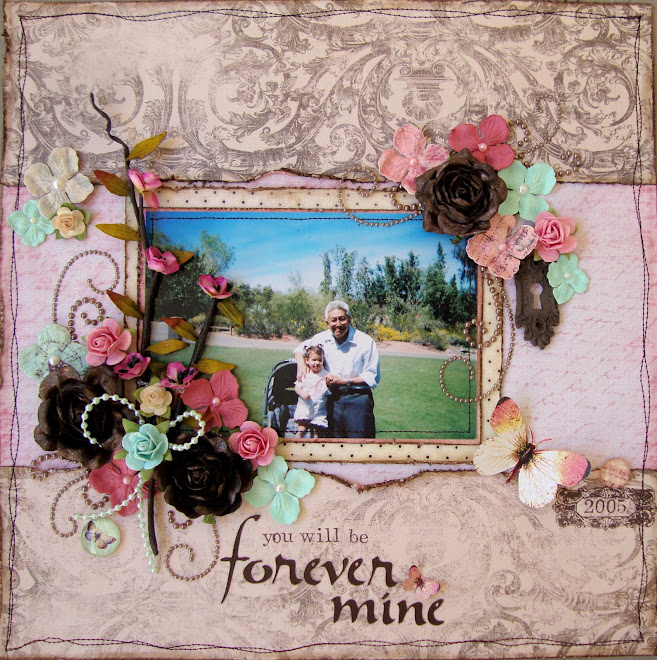
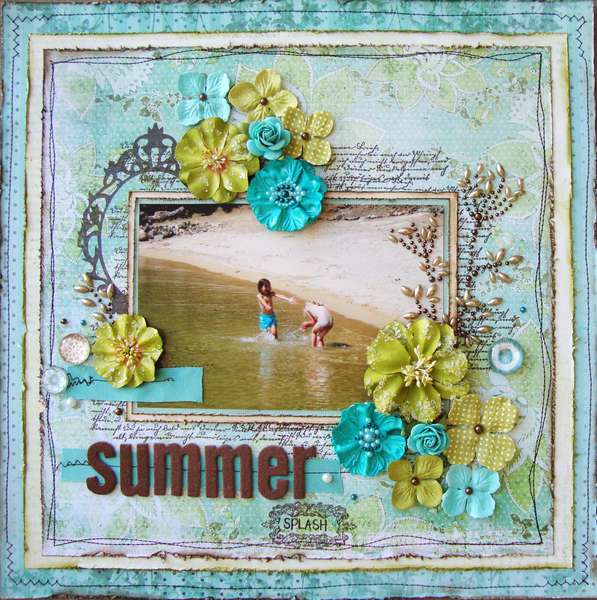
And I will bury my soul in a scrapbook, with the photographs there and the moths.
~Leonard Cohen
Showing posts with label My Tutorials. Show all posts

Hello Card**Step-by-Step & Flower Tutorial**

This weekend was that of a dreary one...cold, dark and full of snow...in the middle of Spring! CRAZY! So I stayed indoors and in between laundry loads I scrapped to my hearts content.

I made a card using the Bo Bunny Timepiece Collection along with a few Fiskars punches.
Here is a step-by-step on how to recreate the design of this card.

Step 1.
Cut cardstock to 8Lx5W. Score middle to make crease in card, fold in half.

Step 2.
Choosing 3 coordinating patterned papers...cut one to 4Lx5W, the second to 3 1/4Lx4 1/4W, and lastly the last cut to 2x2. Adhere the largest piece to the face of your card, layering the 2nd largest in the center.

Step 3.
Cut a strip of cardstock measuring 2 1/4Lx5W. Using a corner punch as a border punch, punch both sides. I used the Fiskars Corner Lever Circles. Just be sure to remove the guards and be careful to match up your last punch precisely so your design looks neat.

Step 4.
Adhere strip to center of card, embellishing with ribbon, lastly adding the 2x2 square on top.

Step 5.
Adhere flower to center of square. And stamp your sentiment on the bottom center. TADA! You're done!
Products Used: Papers(Bo Bunny Timepiece) #12th639, #12tco707, #12td615; Tools: Fiskars Punches: Xtra Lrg Squeeze "Seal of Approval" #01-03776, Medium 1 inch "Poppy" Lever #01-005470, Corner Lever "Circles" #01-005486; Other: pearls, ribbon & sentiment stamp.

**For my card, I used a handmade bloom.** There are many times that I see wonderful flower tutorials and think..well darnit I don't have those flower punches...so here is a tutorial to recreate a bloom everyone is familiar with but might not have the same punches.

Here is the tutorial.
You will need:
*scalloped circle punch
*any flower punch with at least 5-6 petals.
I used the Fiskars Xtra Lrg "Seal of Approval" and Fiskars Medium "Poppy" Punches.

Step 1.
Punch out 2 scalloped circles and 5 smaller flowers.

Step 2.
Taking both your scalloped circles, simply draw in petals. As many as you'd like, I chose to do.

Step 3.
Cut the petals on both your scalloped circles, ink the center of them. Lightly mist with water and scrunch them up to achiever a more dimensional look.

Resulting in with this look.

Step 4.
For the center of your bloom, take the 5 smaller flowers, cut in between each scallop almost to the center. Taking one flower, scrunch it up in the same manner, using very tacky glue, adhere it to another flower.

Then scrunch those 2 upwards, then glue those 2 to a 3rd flower and do the same until you're all done with all 5 flowers. This is what it will look like when you're done.

Step 5.
Adhere your small bloomt to the center of your large bloom. Now you have yourself a pretty little bloom without fancy flower punches. =)

Well I hope you enjoyed this tutorial as much as I enjoyed putting it together for you and I hope you find inspiration within it one way or another.

Now off to eat a grapefruit! YUM!
And to fold yet another load of laundry...story of a wife's life. ;)
♥ Karen

IOD Night Divine & **NEWLY RELEASED STAMPS** Plus a tutorial

So I have been absolutely loving my IOD/Unity stamps...here is a layout in which I used touches of the Provencial Collection "My Dear" stamp set.
The papers are from IOD "Night Divine".

**In this post I will also be sharing a tutorial on how to make the pleated scalloped border on the circle...VERY EASY to do!

I handmade all the flowers to coordinate to the layout..lately I have been very stuck on making flowers...such an easy way to quickly match your blooms to your project. The centers are from IOD.


Here are a few closeups on the stamping...I am alway son the lookout for script stamps, I was ecstatic to see it be a part of this set.


Here is a shot at the postage stamp.
Products Used: Papers: Night Divine(#26917),(#26916),(#26920),(#26919),(#26927); Cardstock stickers(#26923);Epoxy stickers(#26924); Brads:Loolah(#26501);Rhinestones/Pearls: Loolah(#26500); Stamps: Provencial Collections "My Dear"(IOD783-A)

Pleated/Scalloped Circle Border Tutorial
Supplies:
*Cardstock
*Scalloped border punch
*Hot glue
Instructions:
1. Cut your 12 inch long strips..for a 10 inch circle, you need four 12 inch strips, punch them with your desired border punch.

2. Cut the strip apart in 2 scalloped sections. (as shown below)

3. Fold each section in half, creating the "pleat". (as shown above)

4. This is what they should look like...

5. Place a dab of hot glue on the bottom of it...

6. ..and adhere to the back of your circle. Adhere all your scalloped sections.

7. This is what your circle will look like once you are finished.

Well I hope you find inspiration within my tutorial. It's truly a quick and easy way to make a pleated/scalloped border on your circle. If you decide to try it out, I'd love to see your project...so link back to me! =)

Also, be sure to stop by Unity Stamp Co to check out IOD's beautiful stamps!

Pinwheel Tutorial+Layout

I got alot of questions on a tutorial for pinwheels on the last layout used this paper embellishment on...so here is a quick tutorial on how to make them!

What you will need:
-scissors
-patterned paper(preferrably double sided)
-glue dots
-center such a brad, pearl, button, etc.

STEP 1...Cut 2 SAME SIZE squares. I chose mine to be 3x3. Cut each corner almost to the center. Be careful to not cut all the way to the center or else ur square will fall apart.


This is what it should look like.


STEP 2 ...Place a glue dot in the center. Take one corner at a time and bring it to the center, as shown below. Do this to all 4 corners.

This is what it should look like once you have taken in all 4 corners.

Here are both pinwheels done.

Step 3...Take either(which will be the one that goes on top when u layer them) and add your center. For mine, I added a pearl brad. =)


STEP 4...Take both your pinwheels, the one with the center being the top one, and layer them. I adhered mine together with hot glue, any fast drying heavy duty glue will due. Here is your finished pinwheel! Ready to add to any of your projects.

Here is a layout I made, using pinwheels. All papers are from My Minds Eye. These "Little Boy Blue" papers were perfect for this summer picture of my son, eating his first ever snow cone, he loved it to say the least.


The MME ticket stickers were perfect for short journaling. They are so cute!

I hope you have enjoyed this quick and easy tutorial, as well as the layout. Hope you all have a great night.

Retro Flower Tutorial

Ok so I have been making alot of these little flowers lately using my Retro Flower Punch. Its an easy and fast way to make coordinating flowers for your project.


Here's the tutorial for you ladies to try out. My 6 year old daughter can make these!!...goes to show these are very easy.

Gather Your Supplies:
-Large Retro Flower Punch
-Medium Retro Flower Punch
-Pen, stylus, anything with a round tip
-Diamond Dust & Glossy Accents(Optional)


Instructions:
**Punch 2 large flowers and 1 medium flower.
1. Use the end of your pen/tool to curl the petals inward, do this to all petals on all 3 flowers.


2. This is what your flowers should look like after you're done.


3. Glue one large flower on top of the other large flower, making sure that the petals are not uniform with each other. Then glue the medium flower right on top. Like this...


4. You can be done at the last step OR...you can do one last thing to it. Dab some Glossy Accents on the ends of the petals, dip it in Diamond Dust and tada!!


Then it'll look like this..


Just simply add a center such as a brad, pearl or button and you're done.
It's as simple as that!
Give it a try!

Another Fabric Flower Tutorial

Here I am with another fabric flower tutorial.=)
This one requires alittle sewing but nothing major AT ALL!

K onto the point of this post!

Supplies:
*Fabric
*pretty center(pearl/brad/etc.
*scissors
*thread
*needle

Instructions:
Cut 2 strips of fabric, one being 1 inch wide & about 14 inches long, the 2nd strip being 1/2 in wide & 6 in long.


Take your longer strip, fold over one end of the strip and secure it with a stitch.


Then run a stitch across the entire bottom of your strip.


Once you're done running your stitch, pull the thread, this will make your fabric gather.


Secure the back with a few stitches, this should be what your flower looks like when you're done.


Repeat the above steps with your shorter strip. This will give you two blooms in the end. Attach the smaller one on top of the large one with a few stitches, adhere your center..Voila!! A quick and easy fabric flower!


Hope you found this tutorial pretty simple!

K off to bed now.
Goodnight!

LinkWithin

Related Posts with Thumbnails