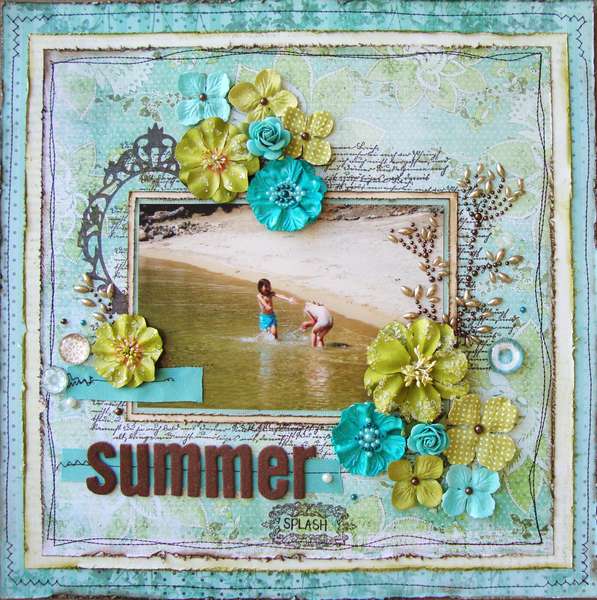
**In this post I will also be sharing a tutorial on how to make the pleated scalloped border on the circle...VERY EASY to do!
I handmade all the flowers to coordinate to the layout..lately I have been very stuck on making flowers...such an easy way to quickly match your blooms to your project. The centers are from IOD.


Here are a few closeups on the stamping...I am alway son the lookout for script stamps, I was ecstatic to see it be a part of this set.

Here is a shot at the postage stamp.


Here are a few closeups on the stamping...I am alway son the lookout for script stamps, I was ecstatic to see it be a part of this set.

Here is a shot at the postage stamp.
Products Used: Papers: Night Divine(#26917),(#26916),(#26920),(#26919),(#26927); Cardstock stickers(#26923);Epoxy stickers(#26924); Brads:Loolah(#26501);Rhinestones/Pearls: Loolah(#26500); Stamps: Provencial Collections "My Dear"(IOD783-A)
Pleated/Scalloped Circle Border Tutorial
Supplies:
*Cardstock
*Scalloped border punch
*Hot glue
Instructions:
1. Cut your 12 inch long strips..for a 10 inch circle, you need four 12 inch strips, punch them with your desired border punch.
4. This is what they should look like...
Well I hope you find inspiration within my tutorial. It's truly a quick and easy way to make a pleated/scalloped border on your circle. If you decide to try it out, I'd love to see your project...so link back to me! =)
Also, be sure to stop by Unity Stamp Co to check out IOD's beautiful stamps!


